
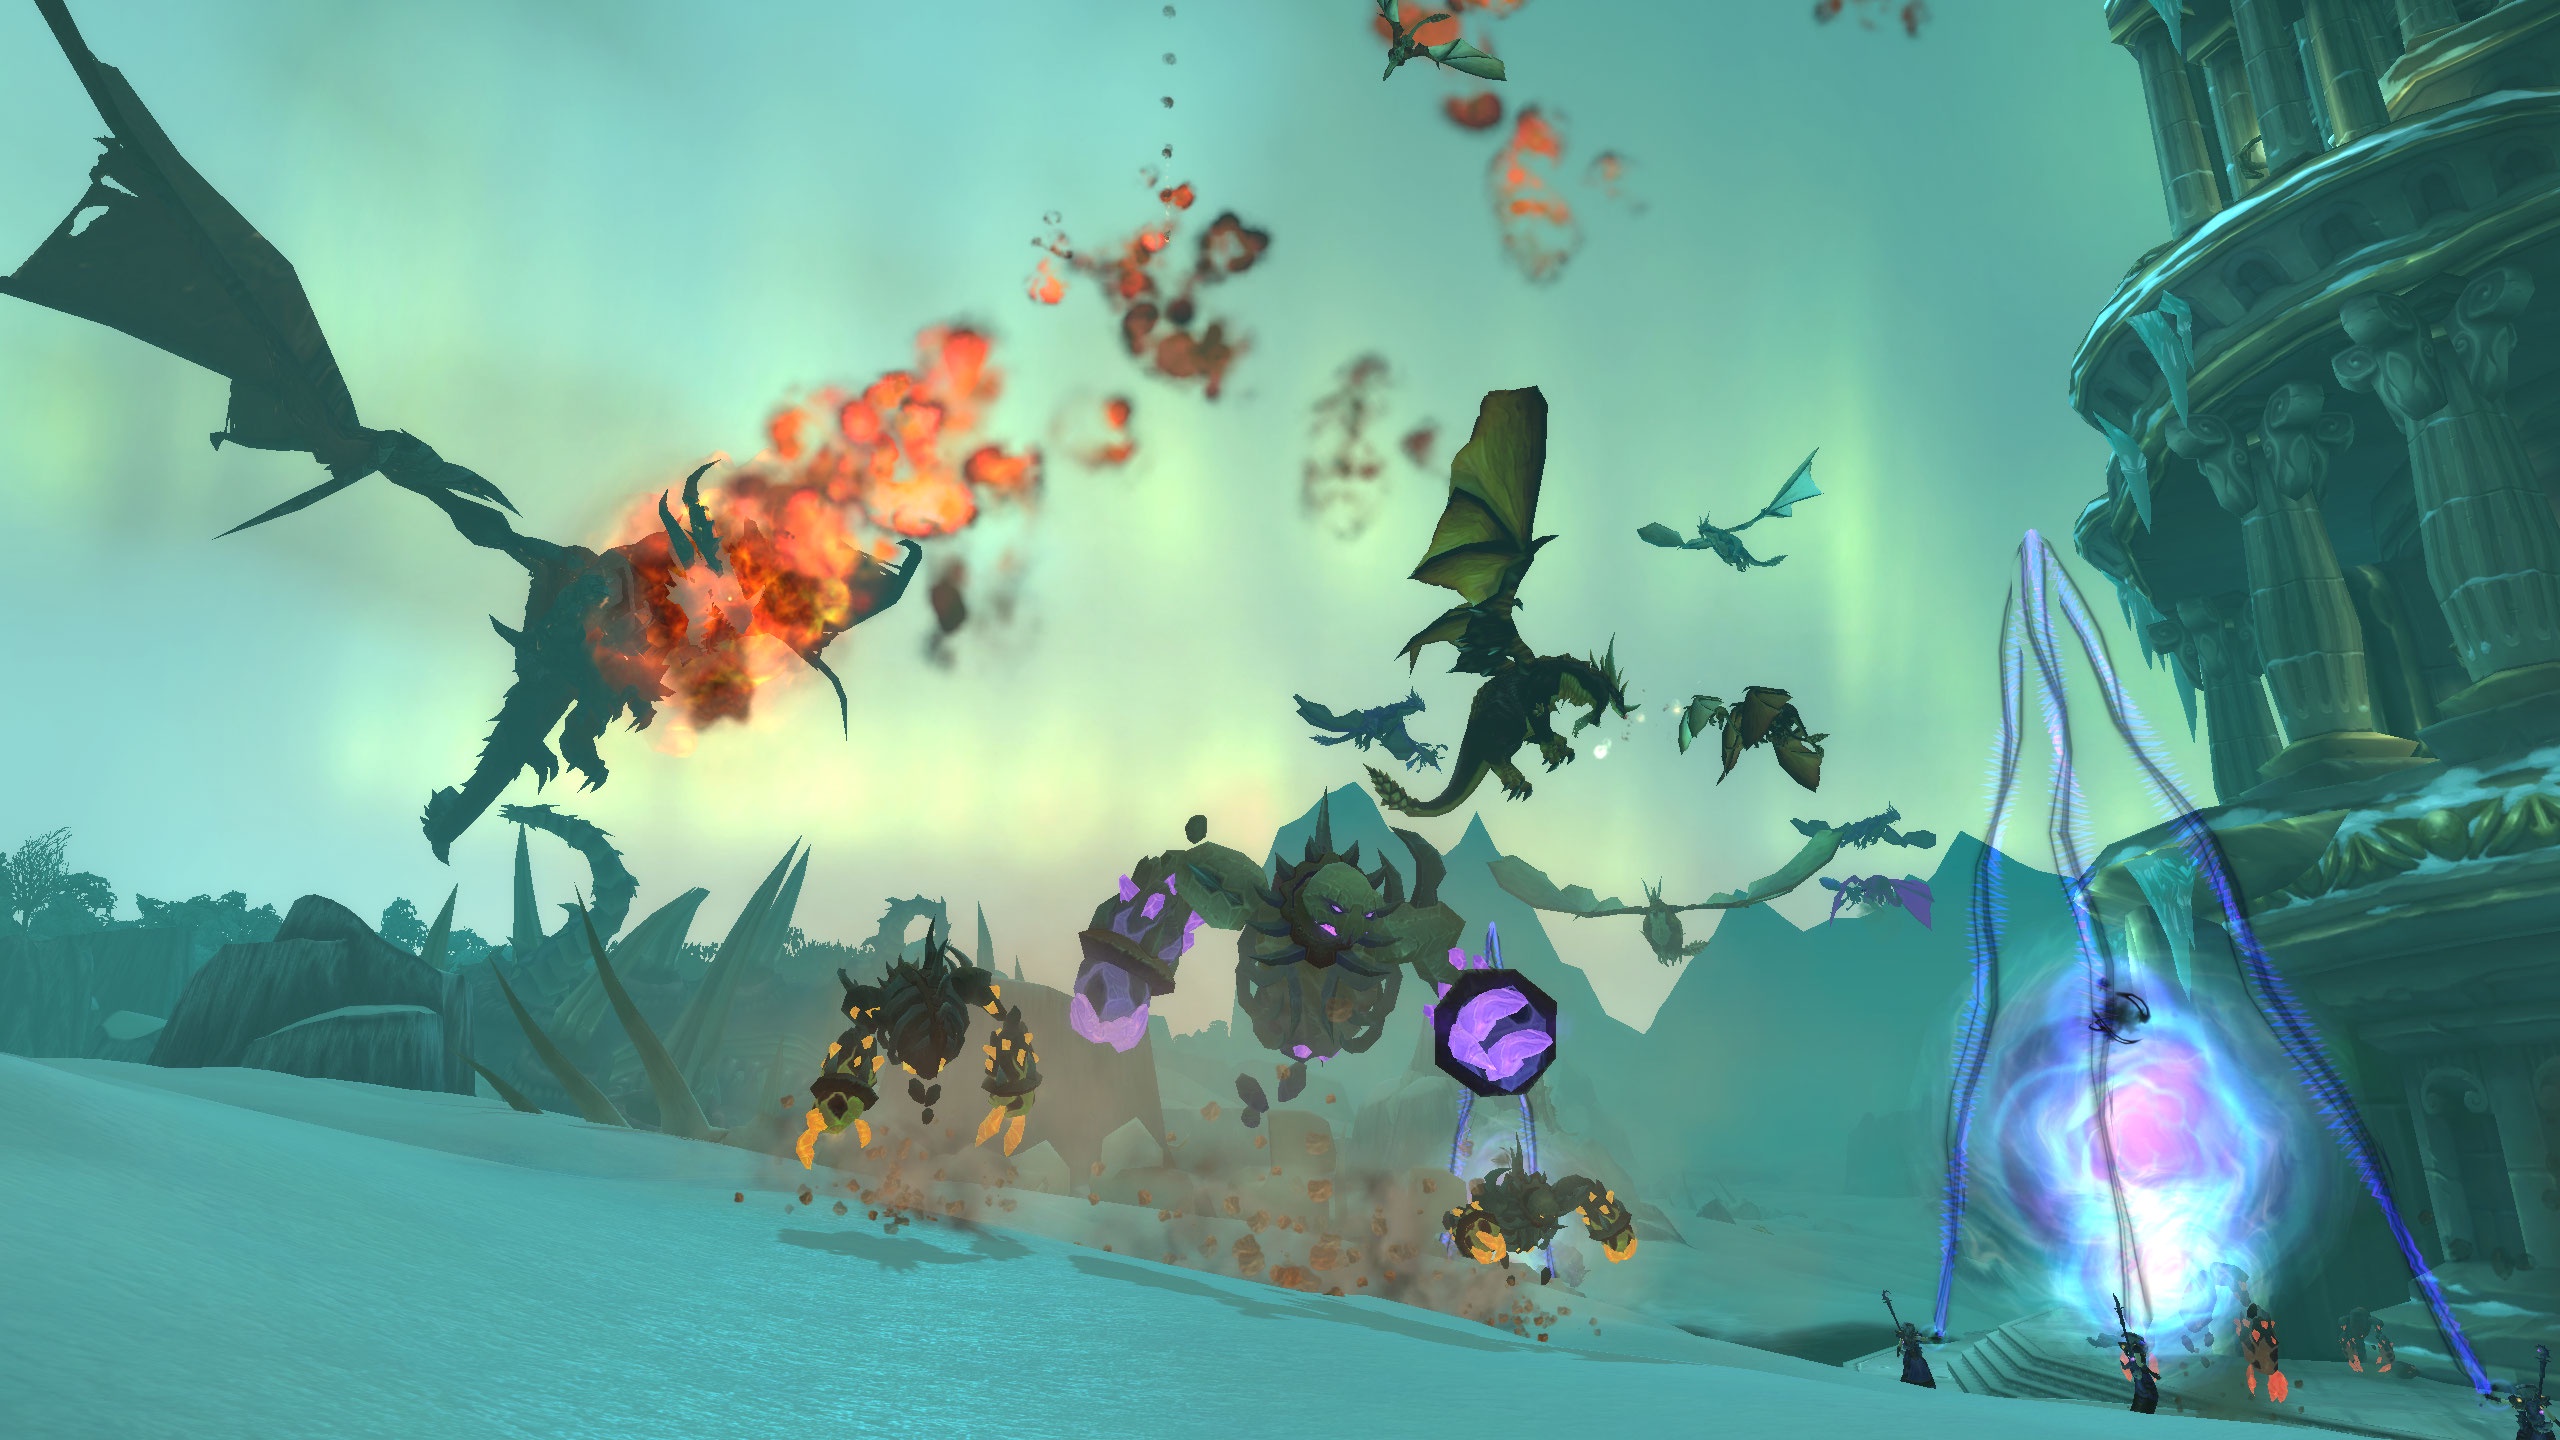
Nerub’ar Palace in Azj-Kahet challenges you to maneuver through eight bosses, requiring teamwork and precision. Start with Ulgrax the Devourer, managing tank swaps and spawn elimination. For Bloodbound Horror, balance tank management and healing priorities. Maneuvering Sikran’s platform, focusing on positioning and communication, is essential. Rasha’nan demands tank rotation and interrupt readiness. Decide between Ovi’nax or Ky’veza based on your team’s strengths. Conquer Queen Ansurek with strategic planning, exploring unique mechanics for coveted loot and titles. Keep progressing for deeper insights.
Key Takeaways
- Manage Ulgrax the Devourer with strategic tank swaps and avoid Juggernaut Charge using raid-wide speed boosts.
- Control Bloodbound Horror by managing Gruesome Disgorge, prioritizing healing for Crimson Rain, and interrupting Black Bulwark.
- Handle Sikran’s platform by avoiding Shattering Sweep knockbacks and destroying shadow adds to reduce raid-wide damage.
- Rotate tanks for Rasha’nan, break web tethers, and direct Rolling Acid waves away to manage stuns and interrupts.
- Choose between Ovi’nax and Ky’veza based on your team’s strengths in managing egg mechanics or complex abilities.
Raid Overview and Difficulty Levels
Nerub’ar Palace, located in the City of Threads, Azj-Kahet, serves as a challenging raid instance that requires strategic coordination and preparation. As part of The War Within expansion, this raid offers a linear progression through its wings, accommodating 10 to 30 players with a minimum item level requirement of 567. From the opening week, you can plunge into both Normal and Heroic difficulties. For those seeking tougher challenges, Mythic difficulty introduces more complex mechanics. The raid’s unique terrace-like structure enhances the environment, providing a visually stunning backdrop for your adventures. The Raid Finder option provides accessibility, rolling out its wings over several weeks. Story Mode, which launched a week after the raid’s debut, lets you explore the narrative without loot rewards. This phased activation guarantees you’re progressively engaged within the raid’s environment. Mastering these difficulties not only helps in earning tier rewards but also in collecting Bind-on-Equip items and rare drops, adding depth and replayability to your raiding experience.
Boss Order and Progression Mechanics

In the Nerub’ar Palace raid, you’ll follow a linear progression through the first four bosses, culminating with Rasha’nan, whose rage-fueled attacks and fragmented memories test your team’s coordination. Players must understand how the Nerubian Empire has been altered by Queen Ansurek to fully engage with the raid’s storyline. After defeating Rasha’nan, you face a strategic choice, allowing you to tackle either Eggtender Ovi’nax or Nexus-Princess Ky’veza next, depending on your team’s strengths and readiness. This choice introduces a layer of flexibility in your approach, letting you plan your raid path strategically based on your group’s capabilities and preferences.
Linear Boss Progression
Although the allure of Nerub’ar Palace draws adventurers into its depths, its structure demands a disciplined approach to boss encounters, where players must follow a strict linear progression to succeed. Situated in the City of Threads, Azj-Kahet, the raid presents eight bosses, starting with Ulgrax the Devourer, followed sequentially by the Bloodbound Horror and Sikran, Captain of the Sureki. Each encounter increases in complexity, culminating in the fight against Rasha’nan, a formidable foe with both AOE and single-target mechanics. Adventurers must handle environmental hazards, such as webs and pools, while managing tanking mechanics like debuffs and taunt swaps. Mastery of positioning and movement is crucial to avoid damage and manage ads effectively. Only by defeating these bosses in order can you advance towards the formidable Queen Ansurek, the ultimate challenge.
Choice After Rasha’nan
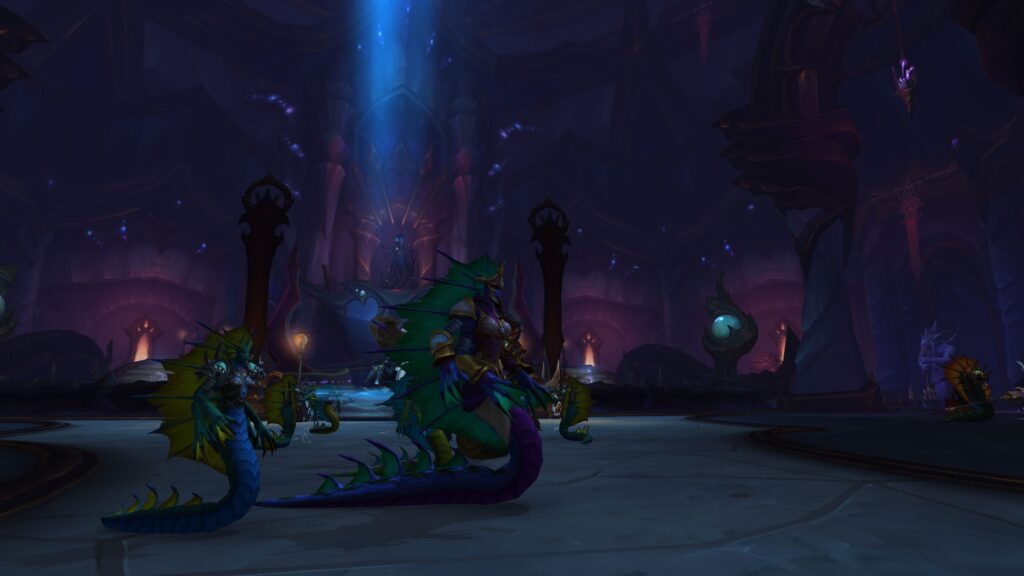
After defeating Rasha’nan, players face a pivotal choice between two distinct bosses: Broodtwister Ovi’nax and Nexus-Princess Ky’veza. Both bosses present unique challenges but do not greatly alter raid progression, as both paths lead to The Silken Court and Queen Ansurek. Broodtwister Ovi’nax requires managing eggs and adds, with healers focusing on damage control and DPS targeting adds to prevent hatching. Meanwhile, Nexus-Princess Ky’veza demands handling phantoms and mirror adds, with tank swaps and precise positioning. The choice may depend on team composition, loot needs, or familiarity with mechanics. The Severed Strands buff can adjust difficulty, making one boss more accessible. Broodtwister Ovi’nax introduces unique mechanics that require players to adapt their strategies, emphasizing teamwork and coordination. Ultimately, your team’s strengths and experiences will guide your decision.
Key Strategies for Ulgrax the Devourer
When facing Ulgrax the Devourer, understanding key strategies is essential to overcoming this formidable challenge. First, focus on boss positioning. Face Ulgrax away from the raid to minimize damage, and keep him away from the platform’s edge to prevent knock-offs. Use raid-wide speed boosts to manage movement and avoid Stalker’s Netting. Next, manage the tanks effectively by swapping them after each Brutal Crush to handle Tenderized stacks, and guarantee they stay mobile to dodge Juggernaut Charge. For add management, quickly eliminate Ravenous Spawn to prevent excessive damage, and use area of effect damage efficiently. During phase changes, be prepared for Ulgrax’s leap, which knocks players back, and avoid Juggernaut Charge’s path.
| Strategy Focus | Key Actions |
|---|---|
| Boss Positioning | Face away, avoid edges, manage movement |
| Tank Management | Swap tanks, avoid netting, stay mobile |
| Add Management | Kill quickly, gather adds, use area damage |
| Phase Changes | Avoid leap, dodge Charge, manage energy |
Dealing With the Bloodbound Horror
To effectively deal with the Bloodbound Horror, it is crucial to prepare your raid team with a balanced composition, dividing into two teams each with a tank, half the healers, and DPS for ideal handling of both fight phases. Equip your team with appropriate gear and buffs to enhance damage output and survivability, and establish clear communication channels to coordinate movements and actions. During the outside phase, tanks should position themselves to manage Gruesome Disgorge, sending players into the Unseeming dimension, while healers must prioritize targets afflicted by Crimson Rain. Players should also maintain controlled movement to avoid Grasp from Beyond puddles and run away from Goresplatter’s massive AoE. Inside, tanks need to taunt Lost Watcher, interrupt Black Bulwark, and prioritize the Forgotten Harbinger to prevent Blood Horrors from reaching the boss. Be ready to adapt strategies as needed based on raid performance and gear level.
Navigating Sikran’s Platform Challenges
When tackling Sikran’s platform challenges, start by focusing on a solid ascension strategy, ensuring your team maintains ideal positioning to manage Sikran’s abilities effectively. Pay close attention to avoiding knockback hazards, particularly during the Shattering Sweep, where remaining spirits can escalate damage if not minimized. Clear communication and coordination are essential to maneuvering through these threats, allowing your raid to mitigate risks and maintain control over the battle.
Ascension Strategy Tips
Although traversing Sikran’s platform in the Nerub’ar Palace raid presents multiple challenges, mastering the ascension strategy tips can greatly enhance your team’s performance. First, maintain phase awareness to understand when Sikran’s abilities change, allowing you to adapt your tactics accordingly. Mobility is essential; you’ll need to move swiftly around the platform to dodge attacks like Rain of Arrows, ensuring you maintain a favorable position. Focusing fire on Sikran’s exposed weaknesses is crucial, as it greatly boosts your damage output during these critical moments.
- Phase Awareness: Stay alert to Sikran’s changing attacks and abilities.
- Mobility: Keep moving to avoid Sikran’s attacks and maintain ideal positioning.
- Focus Fire: Target Sikran’s weaknesses to maximize damage.
Avoiding Knockback Hazards
Mastering the ascension strategy tips allows you to approach the challenges of Sikran’s platform with greater confidence. To avoid knockback hazards, stay vigilant against the Rain of Arrows, which creates purple swirlies that require quick movement. Position carefully to counter the Shattering Sweep, a powerful attack that threatens to knock you off the platform, resulting in instant death. Group coordination is crucial; maintain effective communication to alert teammates about incoming hazards and strategize positioning. Utilize corner strategies to minimize knockback risks, and confirm healers are within range but away from danger zones. Tanks should manage Sikran’s aggro while keeping a safe distance from platform edges. Prioritize destroying shadow adds to reduce raid-wide damage and maintain a stable environment.
Mastering Rasha’nan’s Explosive Mechanics
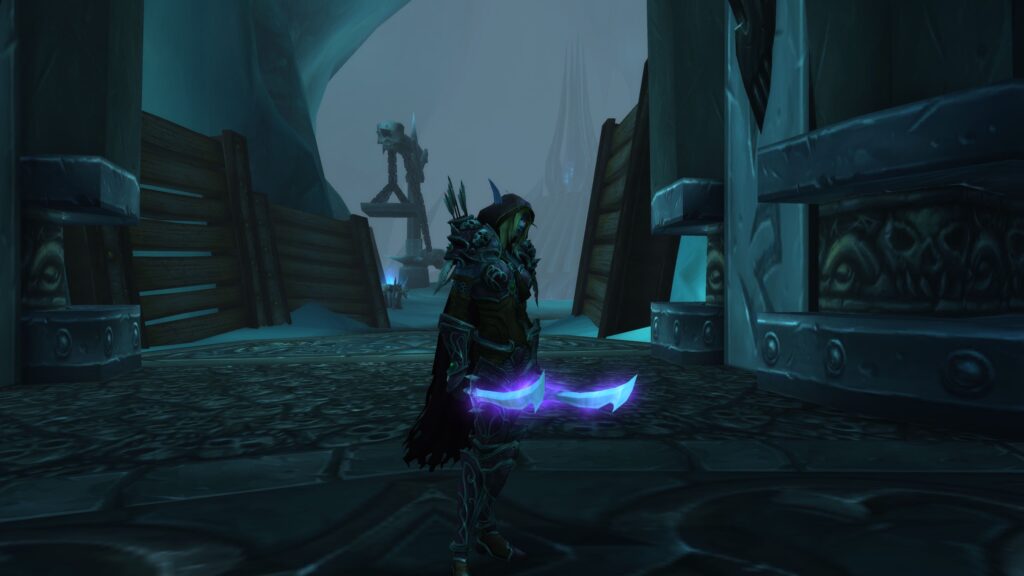
How do you effectively navigate Rasha’nan’s explosive mechanics to guarantee a successful raid? Start by mastering tank responsibilities. With Rasha’nan’s Savage Assault dealing significant physical and nature damage, swap tanks after each hit to manage the stacking DoT. Healers need to stay alert, managing raid-wide damage from Erosive Spray and supporting the team through bursts of harm. Pay attention to web mechanics—Spinneret’s Strands target players, requiring them to move and break web tethers by running away, while avoiding unnecessary damage.
To handle the acid mechanics, players marked by the Rolling Acid must direct waves away from the group, mindful of the brief stun on impact. Additionally, be ready to interrupt Rasha’nan’s Acidic Interruption at 100 Energy.
- Tank Swapping: Rotate tanks after Savage Assault to control damage.
- Healer Support: Heal through Erosive Spray and web mechanics.
- Web and Acid Management: Break tethers and direct acid waves strategically.
Choosing Between Broodtwister Ovi’nax and Nexus Princess Ky’veza
When deciding between tackling Broodtwister Ovi’nax or Nexus Princess Ky’veza in Nerub’ar Palace, it’s essential to weigh the unique challenges each boss presents. Ovi’nax is the fifth boss, and his fight involves strategic egg management in a room filled with eggs, requiring coordinated add management and specific tank classes, like Death Knights, for handling parasites. Healers must manage raid-wide damage from Ingest Black Blood and dispel Sticky Web in Heroic mode, while DPS players focus on Cluster Eggs to prevent empowered adds. Communication and teamwork are key, especially for managing environmental hazards like Sanguine Overflow and Vile Discharge.
Conversely, Ky’veza, being the sixth boss, might offer a different set of challenges, potentially less reliant on add management but requiring precise execution of your team’s strengths. Ultimately, choose based on your team’s ability to handle complex mechanics and coordinate effectively, determining which fight aligns better with your raid’s capabilities.
Handling The Silken Court and Unlocking Raid Skip
Although tackling The Silken Court is no small feat, it’s a necessary step in your progression through Nerub’ar Palace, offering both a challenging encounter and the potential to access a valuable raid bypass. The Silken Court features two bosses, Anub’arash and Skeinspinner Takazj, who share health, making cleaving essential. You’ll need to manage key mechanics like Piercing Strike, which applies a stacking debuff, and avoid Impaling Eruption‘s frontal cone attack. Anub’arash’s Reckless Charge requires setting up a trip line to halt his burrowing charge.
To gain the raid bypass, gather quest items from The Silken Court:
- Signet of the Thousand Scars
- Signet of the Skeinspinner
- Both items must be collected on the same difficulty
Completing the quest allows you to skip certain early bosses, optimizing raid time. Remember, Ulgrax and Bloodbound Horror must still be defeated before using the bypass.
Defeating Queen Ansurek and Raid Rewards
With the challenges of The Silken Court behind you, it’s time to face the ultimate test in Nerub’ar Palace: Queen Ansurek. This final boss fight demands strategic coordination, involving both single-target and AoE mechanics. A recommended setup includes 2 tanks, 4 healers, and 14 DPS players. Activate Heroism or Bloodlust at the start to maximize damage output. Queen Ansurek’s paranoia influences her abilities, so understanding these is essential.
After defeating her, valuable rewards await. On Mythic difficulty, you can earn the “Queenslayer” title and the “Reins of the Ascendant Skyrazor” mount. Completing specific achievements grants the “Reins of the Shadowed Swarmite” mount. Loot ranges from item levels 623-632 on Mythic and 610-619 on Heroic, with unique drops featuring special effects. Group Loot is the only method available, and trading restrictions are lifted within the raid, allowing for strategic distribution of gear.
Frequently Asked Questions
What Is the Best Raid Composition for Mythic Difficulty?
For mythic difficulty, you’ll need a balanced raid composition. Guarantee a mix of tanks, healers, and DPS, focusing on class synergy for crowd control, healing, and damage. Use a dual tank setup for effective add management, and coordinate tank swapping to handle debuffs. Include healers with strong AoE and single-target healing, and DPS capable of burst and sustained damage. Prioritize mobility and utility to adapt to dynamic encounters.
How Do Environmental Hazards Impact Raid Performance?
Environmental hazards can greatly impact raid performance by affecting players’ comfort and focus, which in turn influences their ability to execute strategies effectively. Extreme temperatures and humidity can cause discomfort, while poor lighting conditions can lead to visual strain and slower reaction times. High noise levels disrupt communication, making coordination challenging. Additionally, poor air quality can reduce stamina, and cramped spaces can hinder movement, ultimately affecting the team’s overall success in the raid.
Are There Specific Add-Ons Recommended for This Raid?
For this raid, you’ll want to use Deadly Boss Mods and BigWigs for essential boss alerts and timers, ensuring precise coordination. Method Raid Tools and Infinite Raid Tools are important for raid planning and managing complex mechanics. WeakAuras provides customizable alerts, enhancing your situational awareness. GTFO will help you avoid harmful areas, minimizing unnecessary damage. These add-ons collectively streamline raid management, improve efficiency, and reduce error rates during encounters.
What Are the Best Consumables to Use During the Raid?
Picture yourself in the heart of battle, where every decision counts. Equip yourself with essential consumables for the raid: flasks like Flask of the Whispering Winds boost damage or healing, while Grilled Dragonfin provides vital stat enhancements. Use Rune of Power for an edge, and Potion of Unbridled Fury for bursts of power. Elixirs like Elixir of Mastery amplify effects, and don’t forget healthstones and mana gems for emergencies.
How Should Loot Trading Be Managed for Optimal Gear Distribution?
To manage loot trading effectively, you should use a transparent system like Loot Council or DKP to prioritize gear distribution based on need and contribution. Confirm all members understand the rules, including item-level restrictions and tradeable item guidelines. Utilize a group loot system, allowing for strategic trading within the two-hour window for soulbound gear. Regularly review raid performance to adjust strategies, maintaining fairness and efficiency in gear allocation.
Conclusion

As you conquer Nerub’ar Palace, each boss presents unique challenges demanding precise strategies and teamwork, from Ulgrax’s voracious hunger to the intricate dance of The Silken Court. Guiding through these trials, you’ll weave through Sikran’s treacherous platforms and Rasha’nan’s volatile mechanics, making critical choices between formidable adversaries like Broodtwister Ovi’nax and Nexus Princess Ky’veza. Ultimately, dispatching Queen Ansurek rewards your perseverance, offering both tangible loot and the intangible satisfaction of mastering this complex raid.



Leave a Reply